


When it comes to maintaining your vehicle's pristine condition, professional detailing can be quite costly. However, with the right techniques and tools, you can achieve professional-level results right in your driveway. This guide will walk you through the entire DIY car detailing process, from start to finish, revealing the secrets for a showroom-quality finish every time.
Why DIY Car Detailing?
Taking on DIY car detailing has numerous benefits. Not only is it a cost-effective option, but it also gives you complete control over every aspect of the process. Plus, you'll gain the satisfaction that comes from seeing a job well done, as well as the confidence of knowing your vehicle looks its very best.
Essential Tools and Products
Before diving into the detailing process, gather the essential tools and products. Proper equipment will ensure an efficient and effective detailing experience.
Must-Have Tools
- Microfiber Towels: These are essential for drying and buffing surfaces without scratching.
- Buckets: A couple of buckets with grit guards will prevent dirt from returning to your car's surface.
- Wash Mitts: Use these instead of sponges to reduce the risk of scratching.
- Vacuum Cleaner: A good vacuum with a variety of nozzles will help tackle different areas.
- Detail Brushes: Ideal for cleaning vents, seams, and crevices.
- Polisher: An electric polisher can help achieve a perfect finish.
Essential Products
- Car Wash Soap: Always use a soap specially formulated for cars.
- Clay Bar: This removes stubborn contaminants bonded to the paint.
- Polish: Restores shine and removes surface imperfections.
- Wax or Sealant: Protects the paint and enhances gloss.
- Tire Cleaner: Specifically designed cleaner for restoring tires.
- Glass Cleaner: For streak-free windows and mirrors.
- Interior Cleaner: Suitable for all surfaces, including upholstery, dashboards, and trim.
Step-by-Step Detailing Process
1. Exterior Washing Techniques
Washing your car is the preliminary step in the detailing process. Always work in a shaded area to prevent soap from drying too quickly on the surface, which can lead to stains.
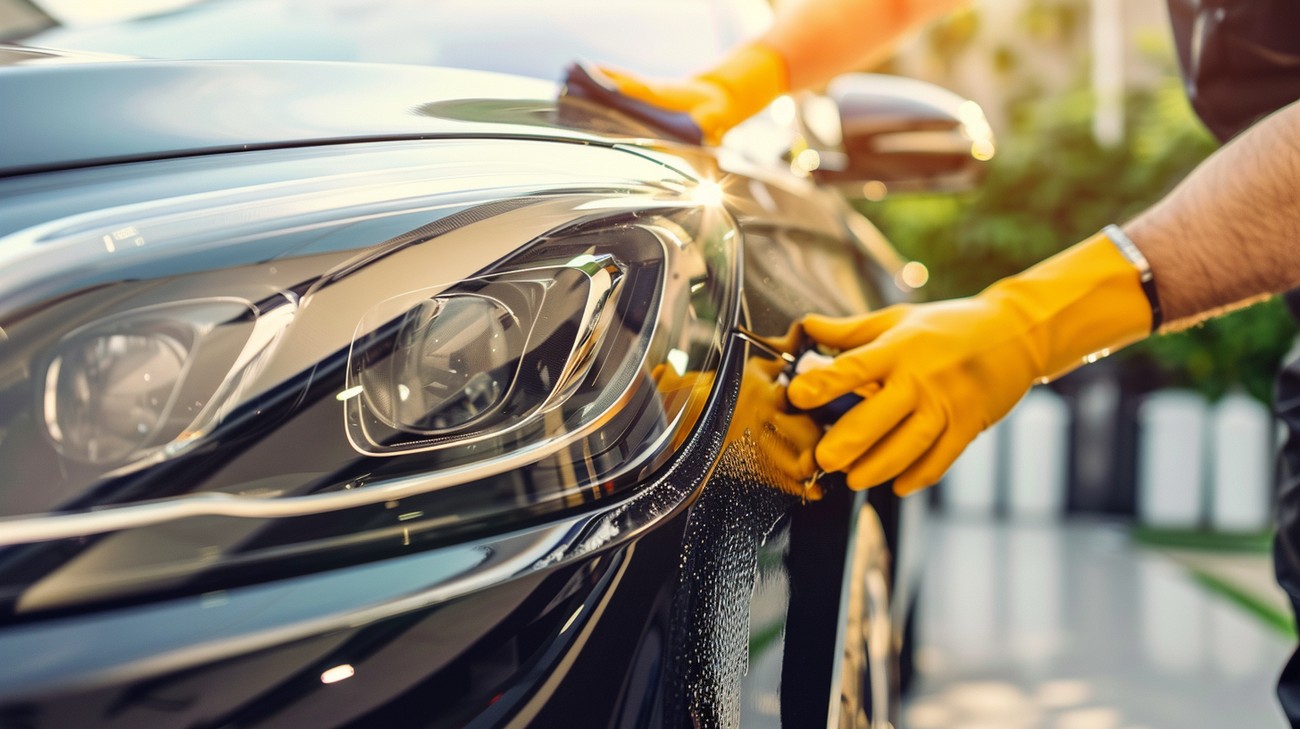
- Pre-Rinse: Thoroughly rinse the vehicle to remove loose dirt and debris. This prevents scratching during washing.
- Two-Bucket Wash Method: Fill one bucket with car wash soap and the other with clean water. Use the wash mitt to lather and clean one section at a time, rinsing in the clean water bucket to remove dirt before soaking the mitt in soap again.
- High-Pressure Rinse: Use a hose or pressure washer to eliminate all remaining soap suds.
2. Claying for a Smooth Surface
Using a clay bar is an often-overlooked step but crucial for that silky-smooth finish. This process removes embedded dirt and contaminants.
- Lubricate the surface with a clay lubricant spray.
- Gently rub the clay bar over one section at a time until the surface feels smooth.
- Regularly knead the clay to expose a clean area.
3. Polishing for a Brilliant Shine
Polishing enhances your car's paint and eliminates minor scratches and imperfections. Apply polish with a dual-action polisher for best results.
- Select a polish suitable for your car's paint type.
- Work in small sections, using the polisher at a low speed to apply the product.
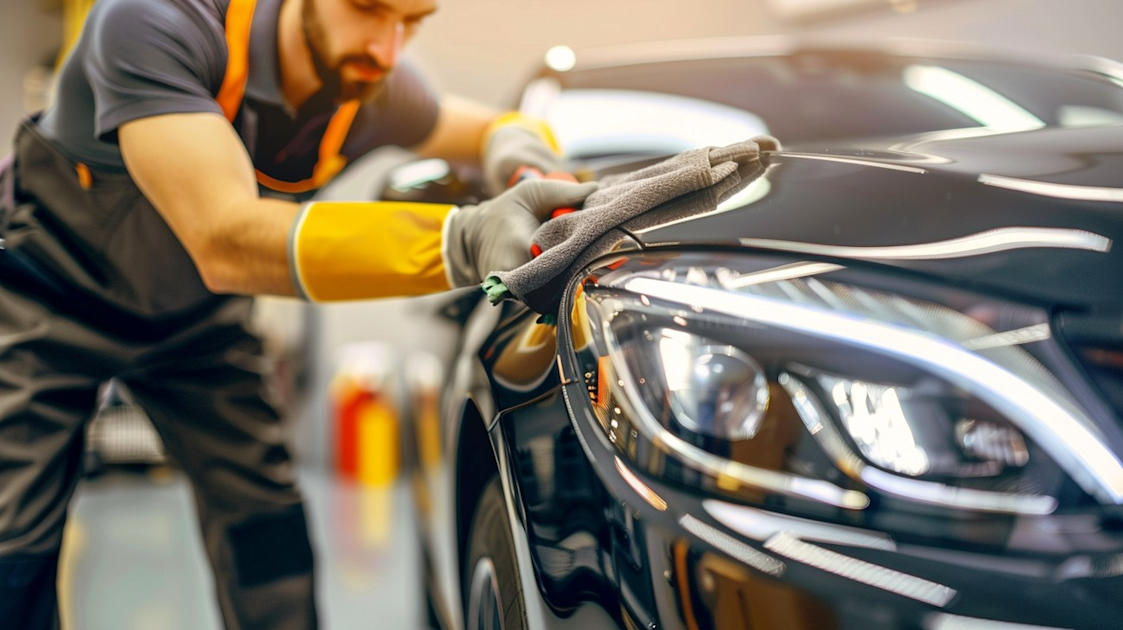
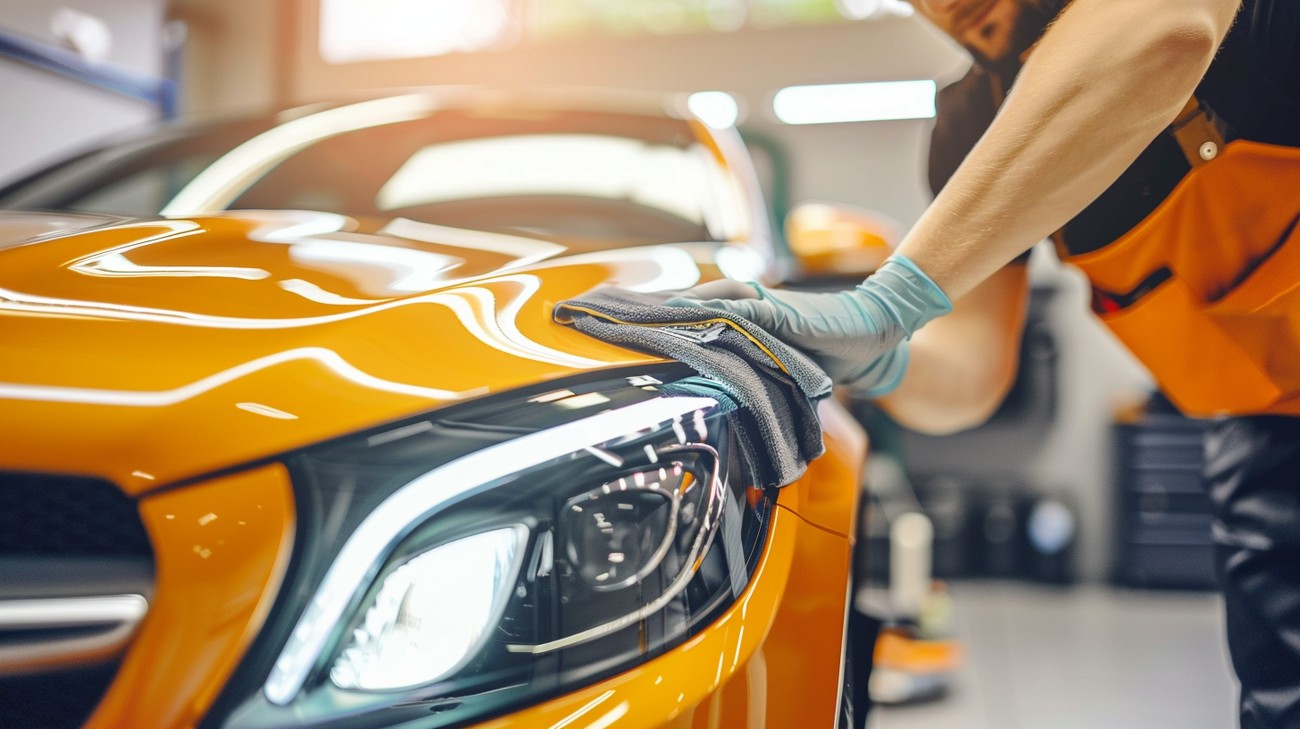
- Increase speed gradually for optimal results and wipe off excess polish with a microfiber towel.
4. Waxing or Sealing
Waxing or applying a paint sealant will protect your car’s surface from environmental elements and provide a glossy shine.
- Choose between natural wax for a richer glow or synthetic sealant for longevity.
- Use a foam applicator to apply a thin, even layer in circular motions.
- Allow drying and then buff off with a clean microfiber towel.
5. Detailing the Interior
Your car's interior deserves as much attention as the exterior. Clean and freshen every nook and cranny.
- Vacuum Thoroughly: Utilize different nozzles to get into tight spaces.
- Clean and Protect Surfaces: Apply a quality interior cleaner suitable for your vehicle’s materials, followed by a protectant to guard against UV damage.
- Condition Seats: Use conditioner specifically designed for leather or fabric to preserve seating material.
6. Finishing Touches
To complete the detailing process, don't forget the finer details that truly make a difference.
- Clean the Glass: Use a non-ammonia based glass cleaner for streak-free windows.
- Shine the Tires and Wheels: A dedicated tire cleaner and shine product can make your wheels stand out.

DIY Car Detailing: Frequently Asked Questions
What are the essential tools for DIY car detailing?
To get started on your DIY car detailing journey, there are several tools you will need. Crucial items include a pressure washer or hose, soft wash mitts, microfiber towels, detailing brushes, vacuum cleaner, and dual-action polisher. Additionally, having a clay bar, car shampoo, wax, polishing compounds, and all-purpose cleaner will ensure you have everything needed for a comprehensive detailing session. These tools and products help you achieve a professional finish from the comfort of your driveway.
How often should I detail my car?
For maintaining your vehicle in top condition, it is advisable to perform a basic DIY car detailing session every one to two months. This includes washing, waxing, and cleaning the interior. However, a more thorough detailing, which involves polishing and deep cleaning, could be scheduled every six months. Regular maintenance like this not only keeps your car looking its best but also helps preserve its value over time.
Can I use household products for DIY car detailing?
While some household products can be used for DIY car detailing, it's essential to exercise caution. For example, mild dish soap can be used to wash your car if auto-specific shampoo isn't available, and white vinegar mixed with water can be used for cleaning windows. However, avoid harsh household cleaners like bleach or ammonia-based products on your car's surfaces, as they can cause damage. It's always best to use products specifically designed for car care to ensure the best results and maintain your vehicle's finish.
What are the steps involved in detailing the exterior of a car?
Detailing the exterior of your car involves several steps. Begin with a thorough wash using a high-quality car shampoo and mitt to remove surface dirt and grime. Follow that up with a clay bar treatment to eliminate stubborn contaminants. Next, use a polish to restore paintwork and reduce swirl marks. Finally, apply a layer of wax or sealant to protect the paint and enhance its shine. Each step in the process is crucial for achieving a professional-looking finish in your DIY car detailing efforts.
How can I ensure I don’t damage my car during DIY detailing?
To avoid damage during your DIY car detailing routine, it's essential to use the correct products and techniques. Use non-abrasive microfiber cloths and wash mitts to prevent scratches. When using a clay bar, keep the surface well-lubricated to avoid marring the paint. Additionally, adhere to product instructions for polishes and waxes to ensure they are applied correctly. Working in a shaded area can also prevent products from drying too quickly on the surface, which helps to achieve a streak-free finish.
Is it necessary to detail the interior of my car?
Detailing the interior of your car is critical for maintaining a clean and comfortable driving environment. It involves vacuuming carpets and seats, cleaning and treating leather or fabric with appropriate products, and dusting and polishing dashboard and panel surfaces. Regular interior detailing not only keeps your vehicle looking and smelling fresh but also helps prolong the life of interior materials. This step in DIY car detailing ensures all aspects of your car are expertly cared for.
How can I clean the engine bay safely during DIY car detailing?
Cleaning the engine bay during DIY car detailing requires careful attention to detail to avoid potential damage. Begin by disconnecting the battery and covering sensitive components like the alternator and air intake with plastic. Use an engine degreaser to break down dirt and grime, then gently rinse with a low-pressure hose. Follow with a brush to tackle tough spots and finish by drying the area with microfiber towels. Regular engine bay cleaning helps detect leaks early and keeps your engine running smoothly.
Are there specific techniques to avoid water spots on my car?
Water spots are a common issue in DIY car detailing, often caused by leaving water to dry on the car's surface. To prevent them, wash your car in the shade to slow down the drying process. Use the "two-bucket" method to minimize dirt during washing. Dry your vehicle promptly with a microfiber towel to absorb water completely. As an added measure, using a water softener or a spot-free rinse system can help eliminate the minerals in water that cause spots after drying.
What’s the difference between waxing and polishing during car detailing?
In DIY car detailing, understanding the difference between waxing and polishing is key to achieving the best results. Polishing is a process aimed at removing minor surface imperfections and restoring paint gloss, utilizing a mildly abrasive compound. This step prepares the paint surface for waxing by creating a smooth, clean base. Waxing, on the other hand, involves applying a protective layer over the polished surface to enhance shine and offer a barrier against environmental damage. While both are integral steps, polishing isn't always necessary, while regular waxing maintains your car's appearance and protection.
Step-by-Step Guide
Tools/Materials Needed
- Vacuum cleaner: With attachments for crevices and upholstery.
- Microfiber cloths: For buffing and drying.
- Car wash soap: Specifically designed for automotive use.
- Buckets: Two – one for soapy water and another for rinsing.
- Wheel cleaner and brush: To tackle brake dust and grime on the wheels.
- Clay bar kit: To remove contaminants from the paint.
- Polisher or applicator pads: For applying wax or polish.
- Car wax or sealant: To enhance and protect the car's surface.
- Interior cleaner: Suitable for fabric or leather.
- Glass cleaner: For streak-free windows.
- Tire dressing: For a shiny finish on tires.
- Detailing brushes: For hard-to-reach areas.
Preparation Steps
Choose the Right Location: Work in a shaded area, preferably in the morning or late afternoon, to avoid soap drying too quickly on the car's surface.
Gather Your Supplies: Ensure all materials and tools are within reach to avoid interruptions during the detailing process.
Clear out the Car: Remove all personal items from the vehicle, including floor mats, to ensure thorough cleaning.
Detailed Instructions
Clean the Wheels First:
- Use a wheel cleaner and brush to scrub the wheels thoroughly.
- Rinse off the cleaner with a hose. Starting here prevents splashing dirt onto a newly cleaned car body.
Wash the Car’s Exterior:
- Fill one bucket with water and car wash soap, another with just water for rinsing.
- Using a microfiber wash mitt, begin washing the car from top to bottom, frequently rinsing out the mitt to avoid scratching the paint.
- Rinse the car thoroughly with a hose.
Clay Bar Treatment:
- With a clay bar kit, glide the clay over the car's surface to remove bonded contaminants.
- Keep the surface lubricated with the clay bar's lubricant spray to prevent damage.
Polish the Paint:
- Apply car polish using a polisher or applicator pad. Work in small sections.
- Buff off the polish with a clean microfiber cloth for a smooth finish.
Wax the Car:
- Apply a coat of car wax or sealant using circular motions.
- Let it haze, then buff off with a microfiber cloth for added protection and shine.
Clean the Windows:
- Spray glass cleaner on the windows and wipe using a clean microfiber cloth.
- Repeat inside and outside to ensure clarity.
Detail the Interior:
- Vacuum the entire interior, including seats, carpets, and crevices.
- Clean surfaces with an interior cleaner appropriate for your materials.
- Wipe down the dashboard and console, using detailing brushes for the vents and tight spots.
Dress the Tires:
- Apply tire dressing for a finished, glossy look. Ensure it’s evenly spread to avoid slinging onto the car body.
Tips for Success
- Avoid Direct Sunlight: Always work in a shaded area to prevent water spots and soap drying too quickly.
- Use Two Buckets: This method helps keep the wash mitt free from dirt and reduces the chances of scratching.
- Use Quality Products: Invest in good-quality cleaning products and tools to achieve the best results and protect the car's surfaces.
- Be Gentle: When using a clay bar or polisher, apply gentle, even pressure to avoid damaging the paint.
What to Do if Something Goes Wrong
- Streaky Windows: If windows streak, re-clean using a fresh microfiber cloth and a different glass cleaner.
- Swirl Marks: If swirl marks appear after polishing, consider using a product specifically designed to remove them, or consult a professional for the best approach.
- Product Residue: If wax or polish leaves a residue, use a damp microfiber cloth to gently remove it.
- Stains in Upholstery: For stubborn stains, try a specialized stain remover or extraction cleaner and follow the product guidelines carefully.
Common Mistakes to Avoid
Using the Wrong Cleaning Products
Mistake: Grab any soap or cleaner lying around and go to town on your car? Not so fast. Household cleaners can be too harsh for your car’s paint and interiors.
Why It Happens: It often occurs due to a lack of awareness or a desire to save money by avoiding specialized products.
How to Avoid: Invest in car-specific cleaning products for different surfaces, like a dedicated car shampoo for exterior washing and upholstery cleaner for the interiors.
What to Do if It's Already Happened: If you’ve already used the wrong product, immediately rinse the area with water and wash it with a suitable car-specific product. Keep an eye out for any discoloration or deterioration.
Expert Recommendations: Always read product labels to ensure they're safe for automotive use. When in doubt, research products online or consult a professional.
Ignoring Surface Preparation
Mistake: Skipping surface prep and diving straight into waxing or polishing is like icing a cake without baking it first.
Why It Happens: Prep work can seem tedious, and some rush through it or skip it altogether.
How to Avoid: Invest time in thoroughly washing and claying your car to ensure contaminants are removed before applying wax or polish.
What to Do if It's Already Happened: If you've already skipped prep work, you might need to start over. Strip any wax or polish you’ve applied and properly clean and prepare the surfaces before reapplying.
Expert Recommendations: Use a clay bar for decontaminating the surface and detailed inspection with your hand to ensure a smooth prep.
Using Dirty Towels or Sponges
Mistake: Using dirty or contaminated towels and sponges can scratch your car's paint.
Why It Happens: It's easy to grab a reused cloth assuming it's clean enough without realizing the embedded dirt and particles.
How to Avoid: Dedicate specific clean microfiber towels for car detailing, and wash them after each use.
What to Do if It's Already Happened: Inspect any affected areas for swirls or scratches. Depending on the damage, you might need to polish the affected areas.
Expert Recommendations: Use the two-bucket method—one for washing and one for rinsing—to reduce the risk of sponge contamination.
Overlooking the Wheels
Mistake: Focusing so much on the car's body that the wheels become an afterthought.
Why It Happens: Wheels and tires often seem complicated and less rewarding due to accumulated brake dust and grime.
How to Avoid: Clean your wheels first with a dedicated wheel cleaner and brushes before washing the car body.
What to Do if It's Already Happened: Give your wheels a dedicated cleaning session. You might need a bit of elbow grease, but they'll shine like new.
Expert Recommendations: Regular maintenance with a weekly wheel wash can prevent buildup and make future cleaning much easier.
Applying Wax or Polish in Direct Sunlight
Mistake: Applying wax or polish under direct sunlight can cause it to dry too quickly, resulting in streaks and uneven finishes.
Why It Happens: Some believe warm temperatures can enhance the product's effectiveness, not realizing the rapid drying it can cause.
How to Avoid: Work in a shaded area or wait for cooler times of day to detail your car.
What to Do if It's Already Happened: Re-wash the affected area and reapply the product in a shaded area.
Expert Recommendations: Keep the car cool and use products designed to be sun-safe for best results.
Neglecting Interior Detailing
Mistake: Spending hours perfecting the exterior while neglecting the car's interior.
Why It Happens: The interior can feel like a separate task, often leading to postponement or forgetting it entirely.
How to Avoid: Plan your detailing session time smartly to cover both the interior and exterior.
What to Do if It's Already Happened: Allocate a separate session for the interior. Use vacuum, carpet cleaner, and appropriate tools for a thorough job.
Expert Recommendations: Develop a routine that integrates both exterior and interior detailing on a regular basis.
Over-Polishing
Mistake: It's common to think more polish equals more shine, but over-polishing can lead to paint damage. Why It Happens: The admirable quest for ultimate shine sometimes pushes people to overdo it. How to Avoid: Limit polish application to 3-4 times a year and use a recommended amount of product. What to Do if It's Already Happened: Assess the paint’s condition; a high-quality glaze or sealant can potentially restore some defects.
Final Thoughts
Taking on DIY car detailing can be a rewarding experience, transforming your vehicle into a clean, polished version of itself. Whether you're tackling the interior with thorough vacuuming and upholstery cleaning or perfecting the exterior shine with a fresh wax, remember that attention to detail makes all the difference. As you dive into your project, it’s important to gather the right tools and products that fit your car’s needs, ensuring you achieve that professional look without the hefty price tag.
If you're looking for guidance or maybe just want to elevate your results, consider reaching out to us at A+ Window Tinting. We're not just about window tinting; we're your local experts serving homeowners in Roseville, CA, ready to provide tips or services that can enhance your vehicle further. Whether it's a consultation for detailing or a free estimate, we're here to help you every step of the way. Let’s make your car shine!


